Guide: How to remove cavity wall insulation safely?
What is cavity wall insulation removal?
Cavity wall insulation removal is the process of taking out materials like mineral fibre, polystyrene beads, or urea-formaldehyde foam from the wall cavity. This is done when insulation gets damaged or stops working. Removing insulation helps restore the building’s structure and energy efficiency. Some old insulation types, like urea-formaldehyde, release harmful gases as they break down. This can affect indoor air quality. Polystyrene beads can settle at the bottom of the wall, reducing their effectiveness. Removing them is necessary for good performance.
Why remove cavity wall insulation?
Some homes, like timber-frame houses, are not suitable for some insulation types. In these cases, removal is the best option to protect the building. There are several reasons for removing insulation:
- Moisture problems: Poor insulation installation can allow moisture to pass through the walls. This causes damp patches, mould, and cold spots. Homes in areas with lots of rain are at higher risk of this problem.
- Degrading insulation: Over time, materials like mineral wool or polystyrene beads can settle, lowering their efficiency. This can also cause structural damage.
- Health risks: Old insulation like urea-formaldehyde foam can release harmful chemicals, which can affect indoor air quality and health.
Safety and health considerations
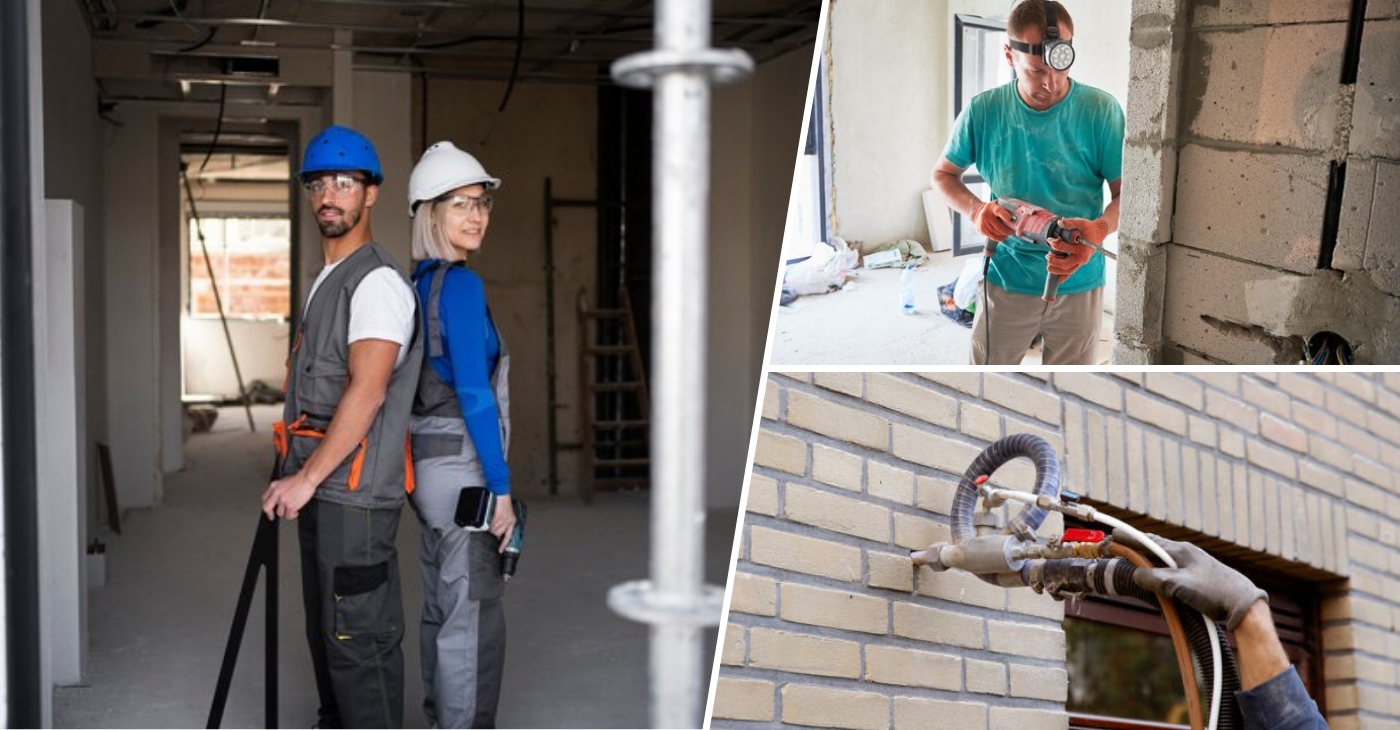
Cavity wall insulation removal requires careful handling because of the risks involved. Workers need to wear protective gear like N95 masks, goggles, and gloves to avoid breathing in harmful particles. Professionals also inspect the walls for hazardous materials like asbestos before starting. This ensures that toxic substances are safely dealt with.
The use of borescopes helps professionals see inside the cavity without damaging the wall. They also use industrial vacuums and compressed air systems to remove insulation without leaving behind any debris.
Professional vs. DIY insulation removal
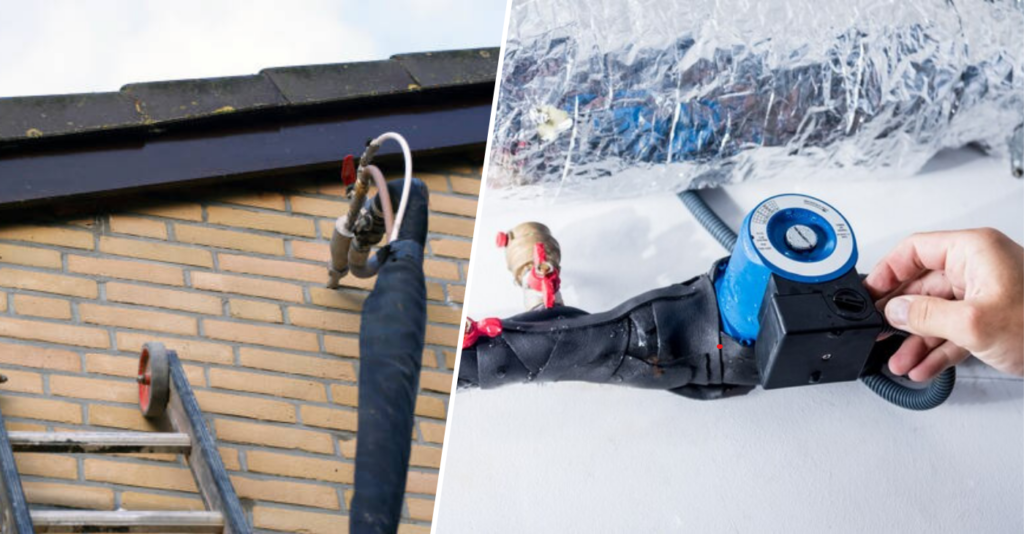
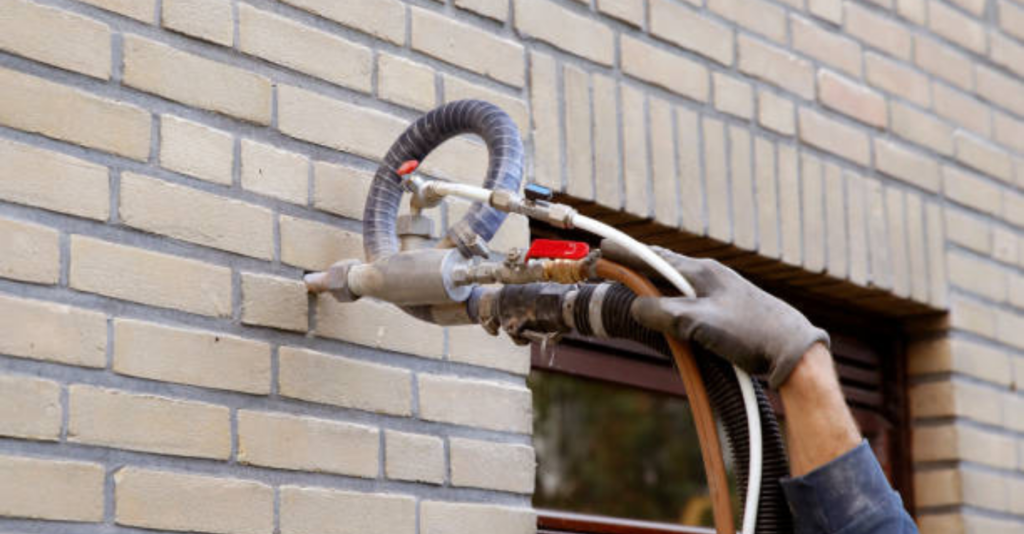
Although DIY might seem tempting, insulation removal is a job best left to professionals. The process requires specialized cavity wall insulation machinery, such as industrial vacuums, compressed air blowers, and inspection cameras. Professionals trained in cavity extraction techniques can ensure that no damage is caused to the internal or external wall during the removal process.
Professionally, the job involves identifying the insulation type, locating problem areas, and using calibrated equipment to extract the material without disrupting the wall’s structure. Attempting to do this on your own could result in incomplete extraction or, worse, damaging the building, leading to higher repair costs.
Tools and equipment for cavity wall insulation removal
Professionals use several key tools to remove insulation:
- Industrial vacuums: These vacuums remove insulation materials like mineral wool or polystyrene beads completely.
- Compressed air systems: These help loosen compacted insulation, allowing vacuums to fully extract it.
- Borescopes: These tools help inspect the walls during and after removal to ensure all insulation is gone.
- Scaffolding: If needed, scaffolding helps workers reach high or difficult areas safely.
Step-by-step process for insulation removal
Here’s how the process works:
- Inspection: Professionals check the cavity with a borescope to see what condition the insulation is in.
- Creating access points: Small sections of brick are carefully removed to allow access for tools.
- Extraction: Compressed air loosens the insulation while vacuums remove it. This ensures no insulation is left behind.
- Post-removal inspection and sealing: A second check ensures the cavity is clear. The wall is then sealed and restored.
How long does cavity wall insulation removal take?
The time it takes to remove cavity wall insulation depends on several factors, including the size of the property, the type of insulation, and the complexity of the removal. For an average-sized semi-detached house, the removal process typically takes 1 to 3 days.
- Inspection and preparation: On the first day, professionals will conduct an initial inspection using borescopes to assess the condition of the insulation and the cavity itself. This ensures that they know the type of insulation, the level of degradation, and any potential issues such as moisture or damaged wall ties. Preparing the site and creating access points may take several hours, depending on the complexity of the wall structure.
- Removal process: The actual removal of insulation, especially if it involves materials like expanded polystyrene beads or mineral wool, takes time. Compressed air systems and industrial vacuums are used to safely extract the insulation. This part of the job typically spans 1-2 days, but factors like the age of the building, access difficulties, or compacted insulation can extend this phase.
- Post-removal inspections and repairs: After the removal, professionals need to inspect the cavity again to ensure that all insulation material has been removed. If the walls show signs of moisture damage, mould, or corroded wall ties, additional time will be required for repairs. If this is the case, fixing these issues could extend the job by another day or more.
What are the costs involved in cavity wall insulation removal?
The cost of cavity wall insulation removal varies based on several factors, including the size of the property, the condition of the insulation, and the materials used. On average, homeowners can expect to pay between £1,680 and £4,500, but the final cost depends on the specifics of the job.
- Per square metre costs: Professionals generally charge £20 to £30 per square metre for insulation removal. For a typical semi-detached house, with around 80 to 120 square metres of wall space, the total cost usually falls within the £1,680 to £3,600 range. For larger homes, this can increase significantly, potentially reaching £4,500 or more, especially for detached homes with greater wall surface areas.
- Scaffolding costs: If scaffolding is required, particularly for properties with high or hard-to-reach walls, this can add an additional £300 to £600. The use of scaffolding is common in multi-story homes or where access is difficult, adding to both the labour and time required for the job.
- Additional factors: If the insulation removal reveals hidden problems such as damp or damaged wall ties, the cost can increase further. Moisture damage repairs, wall tie replacements, or the need for damp-proofing the cavity walls can push the price up by several hundred pounds, depending on the extent of the damage.
What should you consider after removing insulation?
Once the insulation is removed, professionals will check for any moisture damage or structural problems. It’s a good idea to replace the insulation with more stable materials like blown glass wool or rigid foam boards. Damp-proofing the cavity is also important before re-installing new insulation.
Avoiding common mistakes
- Incomplete removal: Leaving insulation behind can cause continued problems with damp and cold spots.
- Improper sealing: Failing to seal the wall correctly can allow moisture back into the cavity, leading to future issues.
Conclusion
Cavity wall insulation removal is not a simple job. It needs professional tools and skills to do it safely and properly. Whether it’s to fix moisture issues, remove faulty insulation, or deal with health risks, this process can greatly improve the energy efficiency and safety of a building. Hiring professionals ensures the job is done right, keeping your home warm, dry, and structurally sound.

